Ultime storie
Scopri cosa c'è di nuovo
Notizie, approfondimenti e guide selezionate per la community Steam Deck.
Notizie, approfondimenti e guide selezionate per la community Steam Deck.
 Utils
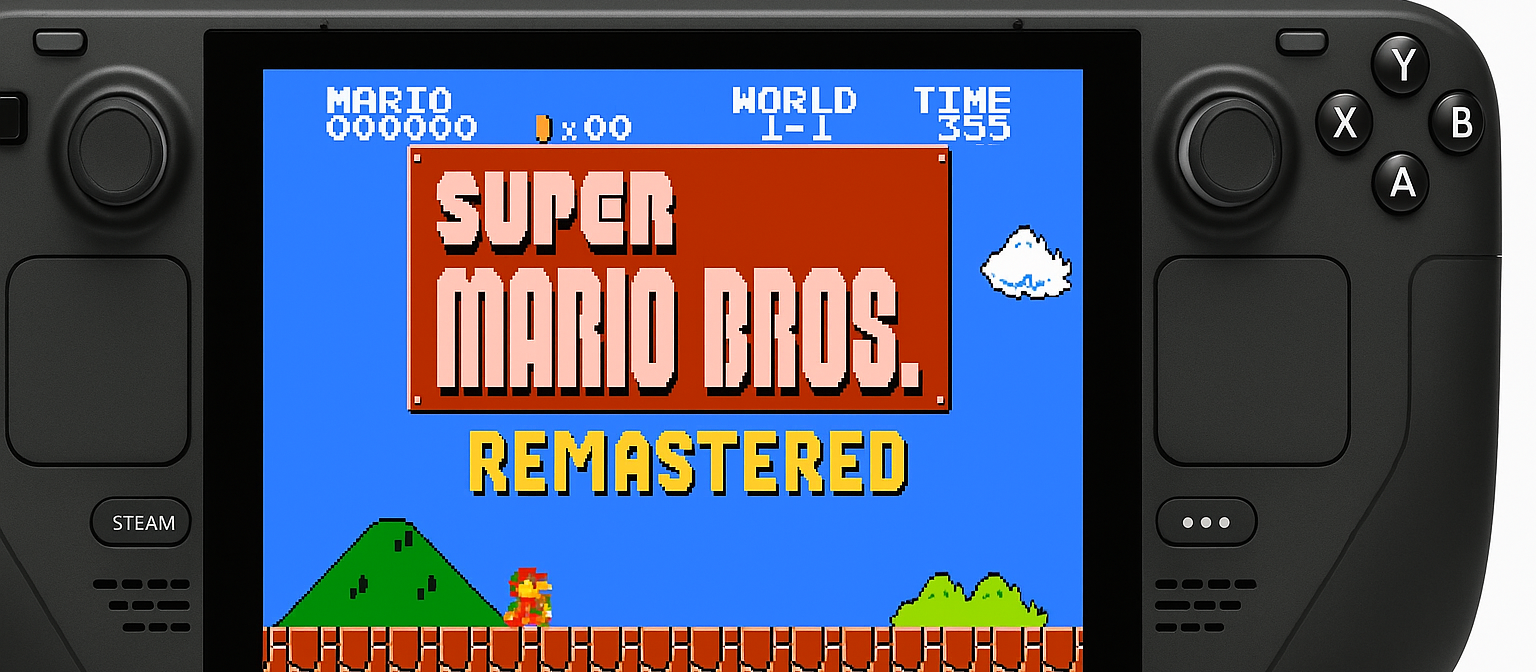
UtilsRecently, “Super Mario Bros. Remastered” has gone viral — a public archive that breathes new life into the legendary NES title and is making waves across the retro-gaming community. The project was created by Joe H (aka JHDev2006) , who decided to share the result of years of passion with the public: a complete remake/port of Super Mario Bros. and The Lost Levels , developed entirely with the Godot engine. This is not a simple emulation — the game has been rebuilt from scratch, offering improved graphics , support for custom resource packs , new characters , and even an integrated Level Editor to create brand-new worlds. In addition to the enhanced visuals — with widescreen support and levels adapted to display a larger portion of the scene — the project also includes numerous bug fixes. For example, issues with map movement fluidity have been resolved, softlocks that could trap Mario inside walls have been fixed, and some of Luigi’s animations with specific power-ups have been improved. The entire project is distributed as open-source : it does not include Nintendo’s original assets and requires the player to provide their own ROM in order to run. This choice allowed the author to keep the remake available without directly infringing on the rights to the original material. Although the GitHub repository is now archived and read-only, Super Mario Bros. Remastered remains a small phenomenon: a fan-made project that went viral, not only celebrating one of the most iconic video games of all time but also opening up new possibilities to play and reinvent it on modern platforms, including PC, Linux, macOS, and Steam Deck . Video 🔧 How to Install Super Mario Bros. Remastered on Steam Deck Installing the remake on Steam Deck is fairly straightforward, but it requires a few manual steps since it’s not an official Steam game. 1. Enable Desktop Mode Press the Steam button → go to Power → select Switch to Desktop . You’ll enter the KDE (Linux) desktop environment of the Steam Deck. 2. Download the Project Open your browser and go to the official GitHub repository: 👉 JHDev2006 / Super-Mario-Bros-Remastered Download the package from the Releases section (v1.0.1 recommended). Extract the archive into a folder of your choice, e.g. ~/Games/SuperMarioRemastered/. 3. Add the Original Assets The project does not include Nintendo’s assets. Copy your original NES Super Mario Bros. ROM (personal dump) into the game’s assets/roms/ folder. This step is essential to run the remake properly. 4. Launch the Game Inside the folder, you’ll find the compiled Linux executable (SuperMarioRemastered.x86_64). Double-click it to test the game in Desktop Mode. 5. Add to Steam (Optional, for Gaming Mode) Open Steam in Desktop Mode. Go to Games → Add a Non-Steam Game to My Library . Select SuperMarioRemastered.x86_64. Now you’ll be able to launch it directly in Gaming Mode, just like any other library title. 6. Configure the Controls In Gaming Mode, press the Steam button → Controller Settings to customize controls. You can use the default scheme (similar to an NES controller) or remap them as you like. 🎮 Quick Guide to Mapping Controls on Steam Deck By default, the remake uses keyboard inputs (WASD) , so you need to map them to the Steam Deck controller. Here’s the recommended setup: Keyboard Arrow Keys → Move the character Map these to the D-pad on the Steam Deck. Z → Run Map to the B button (comfortable for holding down to run). X → Jump Map to the A button . Start (keyboard) → Pause Keep it mapped to the Start/Menu button on the Steam Deck. 👉 To configure: Launch the game in Gaming Mode. Press the Steam button → Controller Settings → Custom Layout . Remap the keys according to the scheme above. Save the profile: it will automatically apply every time you start the game.
Leggi l'articolo Utils
UtilsReady to enjoy the multiplayer Pokémon experience on your Steam Deck? This guide will walk you through the straightforward process of installing PokeMMO. With just a few steps, you'll be set up to explore the world of Pokémon with other players, starting with ensuring you have the necessary files and software. Follow along to get started on your PokeMMO adventure! Requirements: A legitimate copy of Pokémon Black/White (2010) [first version] An account on the PokeMMO website Java version 17 on your Steam Deck System Steps: Download PokeMMO: Visit the PokeMMO website and download the file from this link . Install Java v.17: Follow the guide available on GitHub . Or open the terminal on your Steam Deck and enter the following commands: git clone https://github.com/BlackCorsair/install-jdk-on-steam-deck.git && \ JDK_VERSION=17 ./install-jdk-on-steam-deck/scripts/install-jdk.sh Note: On my system, I have used JDK version 21 and it works fine, but PokeMMO requires JDK-17 in the .sh file. Therefore, this guide follows that directive. Prepare the PokeMMO File: Unzip the file downloaded from PokeMMO. Open the PokeMMO.sh file with a text editor. Modify the line: java -Xmx384M $os_flags -Dfile.encoding="UTF-8" -cp PokeMMO.exe com.pokeemu.client.Client to: /home/deck/.local/jdk/jdk-17.0.8/bin/java -Xmx384M $os_flags -Dfile.encoding="UTF-8" -cp PokeMMO.exe com.pokeemu.client.Client Run PokeMMO: Save the changes and close the editor. From the terminal, run the PokeMMO.sh file to ensure everything is working correctly: ./PokeMMO.sh Associate the ROMs: Follow the instructions on the launch screen to associate the required ROMs. Pokémon Black/White (2010) is mandatory, while other ROMs are optional and can be added later to enhance gameplay. Register an Account: Before starting to play, register on the PokeMMO website using this link . Adding PokeMMO to Your Steam Library: Once you have completed all the steps, you can add PokeMMO.sh to your Steam library. Open Steam in desktop mode. Click on "Add a Non-Steam Game" at the bottom left. Select PokeMMO.sh from the list of files and click "Add Selected Programs." Customize the game's appearance in your library by adding the necessary images (cover art, icons, etc.) to make it look appealing by https://www.steamgriddb.com/game/5249074 . If you have followed all the steps correctly, you will be able to play PokeMMO on your Steam Deck directly from the Steam Client. If you have any questions, feel free to write them in the comments or add details. We will be happy to incorporate your feedback into the guide. References: https://pokemmo.com https://github.com/BlackCorsair/install-jdk-on-steam-deck https://www.steamgriddb.com/game/5249074
Leggi l'articolo Utils
UtilsHello everyone! Lately, there's been a lot of talk about Super Mario 64 Maker, a mod for the Super Mario 64 ROM for Nintendo 64. In this guide, we'll go through all the necessary steps to play this mod on your Steam Deck. Actually, the name of the mod that allows you to create levels in Super Mario 64 in an excellent way is Mario Builder 64 - github project . They also provide an excellent guide for dumping the game from an N64 system. Since it is illegal to possess an unoriginal copy of the game, extracting it directly from your own system should not pose any legal issues. You can find the guide here . Requirements Unmodified USA version z64 ROM of Mario 64: Other versions won't work, and the installation program will automatically reject them. Installing Parallel Launcher Switch to Desktop Mode: Switch to the desktop on your Steam Deck. Open Chrome: Open a Chrome browser and search for "Parallel Launcher" on Google. Download the Flatpak Package: Access the site and click on the “Flatpak (SteamOS/Other)” link to download the package. If you're following this guide directly on your Steam Deck, you can click https://flathub.org/apps/details/ca.parallel_launcher.ParallelLauncher to download the package. Install Parallel Launcher: After downloading the package, navigate to the download folder and double-click on the package. Follow the instructions from the package manager to complete the installation. Registering on Romhacking website Create an Account: Go to romhacking.com and create an account if you don't already have one. Remember your credentials because you'll need them for Parallel Launcher. Configuring Parallel Launcher Select the ROM: After completing the installation of Parallel Launcher, open it and select the folder where you saved the ROM. Make sure the ROM is in z64 format and not compressed. Enable Romhacking.com Integration: In the Parallel Launcher settings, enable the integration with romhacking.com and enter your credentials. Launching Super Mario 64 Maker Access the Project Page: Go to the Romhacking page for the mod project: Mario Builder 64 . Start the Game: Click on “Play Now.” After a brief download, the game will start automatically. To add Parallel Launcher to your Steam client, find the program within your operating system's menu. Go to Games, then press L3 on the program's icon. After that, select " Add to Steam " and you will have the program directly in Steam. You can download and add images to enhance its visibility from this page: SteamGridDB - Parallel Launcher Have fun! Feel free to write in the comments if you need help or suggestions. I'll be happy to assist and improve the guide with your feedback. References: https://romhacking.com/hack/mario-builder-64 https://github.com/rovertronic/Mario-Builder-64 https://parallel-launcher.ca/ https://rentry.co/mb64-setup-guide https://www.steamgriddb.com/game/5321907/grids
Leggi l'articolo Utils
UtilsHOW to install - Step-by-Step Guide Getting more out of your Steam Deck has never been easier with the NonSteamLaunchers script. Follow these simple steps to enhance your gaming library with various launchers and services. Switch to Desktop Mode Download this file and save the .desktop file to your Steam Deck desktop. Run NonSteamLaunchers Navigate to your desktop and click the NonSteamLaunchers icon. This will download and execute the latest NonSteamLaunchers.sh from the repository. Select the launcher you wish to install and let the script handle the rest. No files will clutter your "Downloads" folder as they are deleted post-installation. Launch Steam After running the script, start Steam on your Steam Deck. You'll find the new launchers in your library under the "Non-Steam" tab. Click a launcher to view and launch your installed games directly from Steam. If you've downloaded a game within a launcher, restart your Deck or quit and reopen Steam. The NSLGameScanner.service will automatically add it to your library, even in game mode! Automatic Game Detection The NSLGameScanner.service works behind the scenes to ensure your games are added to your library on every Steam restart. This service continues to function after the script is closed and remains active even after a reboot. It currently supports: Epic Games 🎮 💾 Full SD Card Support Ubisoft Connect 🎮 EA App 🎮 Gog Galaxy 🎮 💾 Full SD Card Support Battle.net 🎮 Amazon Games 🎮 💾 Full SD Card Support Itch.io 🎮 Supported Streaming Sites Enhance your Steam Deck experience by adding shortcuts for popular streaming sites and web services: Fortnite ✔️ Xbox Game Pass ✔️ GeForce Now ✔️ Amazon Luna ✔️ Netflix ✔️ Amazon Prime Video ✔️ Disney+ ✔️ Hulu ✔️ YouTube ✔️ Twitch ✔️ movie-web ✔️ Supported Stores Expand your library with these supported stores: Amazon Games Launcher ✔️ Battle.net ✔️ EA App ✔️ Epic Games ✔️ GOG Galaxy ✔️ Humble Games Collection ✔️ IndieGala ✔️ Itch.io ✔️ Legacy Games ✔️ Rockstar Games Launcher ✔️ Ubisoft Connect ✔️ Glyph ✔️ Playstation Plus ✔️ VK Play ✔️ Benefits of Using NonSteamLaunchers Automatic Installation : Easily download and install your chosen launchers and games with minimal effort. MicroSD Support : The script supports moving the entire prefix to a microSD, saving internal storage space on your Steam Deck. Latest GE-Proton Installation : Ensures compatibility with the latest games and launchers. Unified Proton Prefix : All NonSteamLaunchers are installed under a unique Proton prefix in your compatdata folder called "NonSteamLaunchers", simplifying management. How to Uninstall Need to uninstall? Just run the script and select "Uninstall". For a complete reset, choose "Start Fresh". References: https://github.com/moraroy/NonSteamLaunchers-On-Steam-Deck https://github.com/cchrkk/NSLOSD-DL/releases/download/DlLinkFix/NonSteamLaunchers.desktop NonSteamLauncher Issues Youtube Video Example
Leggi l'articolo Utils
UtilsHydra Launcher is a launcher designed to simplify the management and sharing of your favorite games. Available on various platforms, including Steam Deck, Hydra Launcher offers a wide range of features to enhance your gaming experience. Game Management: Hydra Launcher allows you to collect and organize your games in one platform. Detailed Information: Thanks to integration with various sources of game information, Hydra Launcher provides essential details such as average completion time, images, descriptions, video previews, and game size. This helps you make informed decisions about your next gaming adventures. Compatibility with DRM-Free Copies: If you own DRM-Free copies of your favorite games, Hydra Launcher allows you to include them in your library and access them directly through the launcher. This guide aims to help Steam Deck owners install Hydra Launcher in the simplest way possible, with the possibility of changes due to updates. But let's move on to the installation steps. WARNING PLEASE - Disclaimer on Usage and Responsibilities It is hereby stated that neither the project, nor the website, nor the author of the article assume any responsibility for the use of the program and the results obtained. Furthermore, no responsibility is assumed for any errors that may cause the console to be blocked or malfunction. It is strongly advised to perform each step with awareness and competence, and it is strongly discouraged for those who are not familiar with such procedures to proceed . The user is required to fully understand the actions they are taking and to act with caution. EASY MODE: Installation Steps on Steam Deck: You need just to go in this page: https://github.com/hydralauncher/hydra/releases Search for AppImage Detect the folder where you want download, wait for download, then run it. Done. HARDCORE MODE: Installation Steps on Steam Deck: Download the latest version zip of Hydra Launcher . Extract the zip file to a folder of your choice. If you haven't already, unlock the read-only mode to install programs. Note that the database is in read-only mode, hence you'll receive an error with the same phrase. sudo steamos-readonly disable sudo sh -c 'echo "keyserver hkps://keyserver.ubuntu.com" >> /etc/pacman.d/gnupg/gpg.conf' sudo pacman-key --init sudo pacman-key --populate archlinux sudo pacman-key --populate holo 3.1. Save the following text into a file named setup.sh in the same folder where you extracted the program. This script will install the necessary dependencies to proceed with the program's build. The file will install Node.js, Yarn, and Python 3.9 #!/bin/bash # Install Node.js, Yarn, Python 3.9, and project dependencies sudo pacman -S --needed nodejs npm yarn python # Install Node dependencies yarn install # Install Python dependencies pip install -r requirements.txt # Configure environment variables cp .env.example .env # Add instructions here to insert any necessary credentials into the .env file # STEAMGRIDDB_API_KEY= # ONLINEFIX_USERNAME= # ONLINEFIX_PASSWORD= # Build Electron yarn build:electron # Run Hydra Launcher yarn dev To grant execution permissions, you can use the following command: chmod +x setup.sh Then, to execute the script, use: ./setup.sh This will run the setup script and install the necessary dependencies for Hydra Launcher. To restore the read-only mode, you can use the following command: sudo steamos-readonly enable This will re-enable the read-only mode on your system. To start the launcher Navigate to the folder where Hydra Launcher is installed, and then run the following command: yarn dev This command will launch Hydra Launcher and allow you to start using it on your system. Exactly like the setup, you can create a file called, for example, 'Hydra Launcher.sh ' and add it to Steam to run it directly from there. Here's a sample script that you can use: #!/bin/bash # Navigate to the directory where Hydra Launcher is installed cd /path/to/hydra_launcher_directory # Run the launcher yarn dev Replace "/path/to/hydra_launcher_directory" with the actual path to the directory where Hydra Launcher is installed. After creating the script, make sure to grant execution permissions to it using the command chmod +x Hydra\ Launcher.sh Then, you can add this script to Steam as a non-Steam game, allowing you to launch Hydra Launcher directly from your Steam library. Reference: https://github.com/hydralauncher/hydra https://online-fix.me/guides/16258-site-usage-faq.html
Leggi l'articolo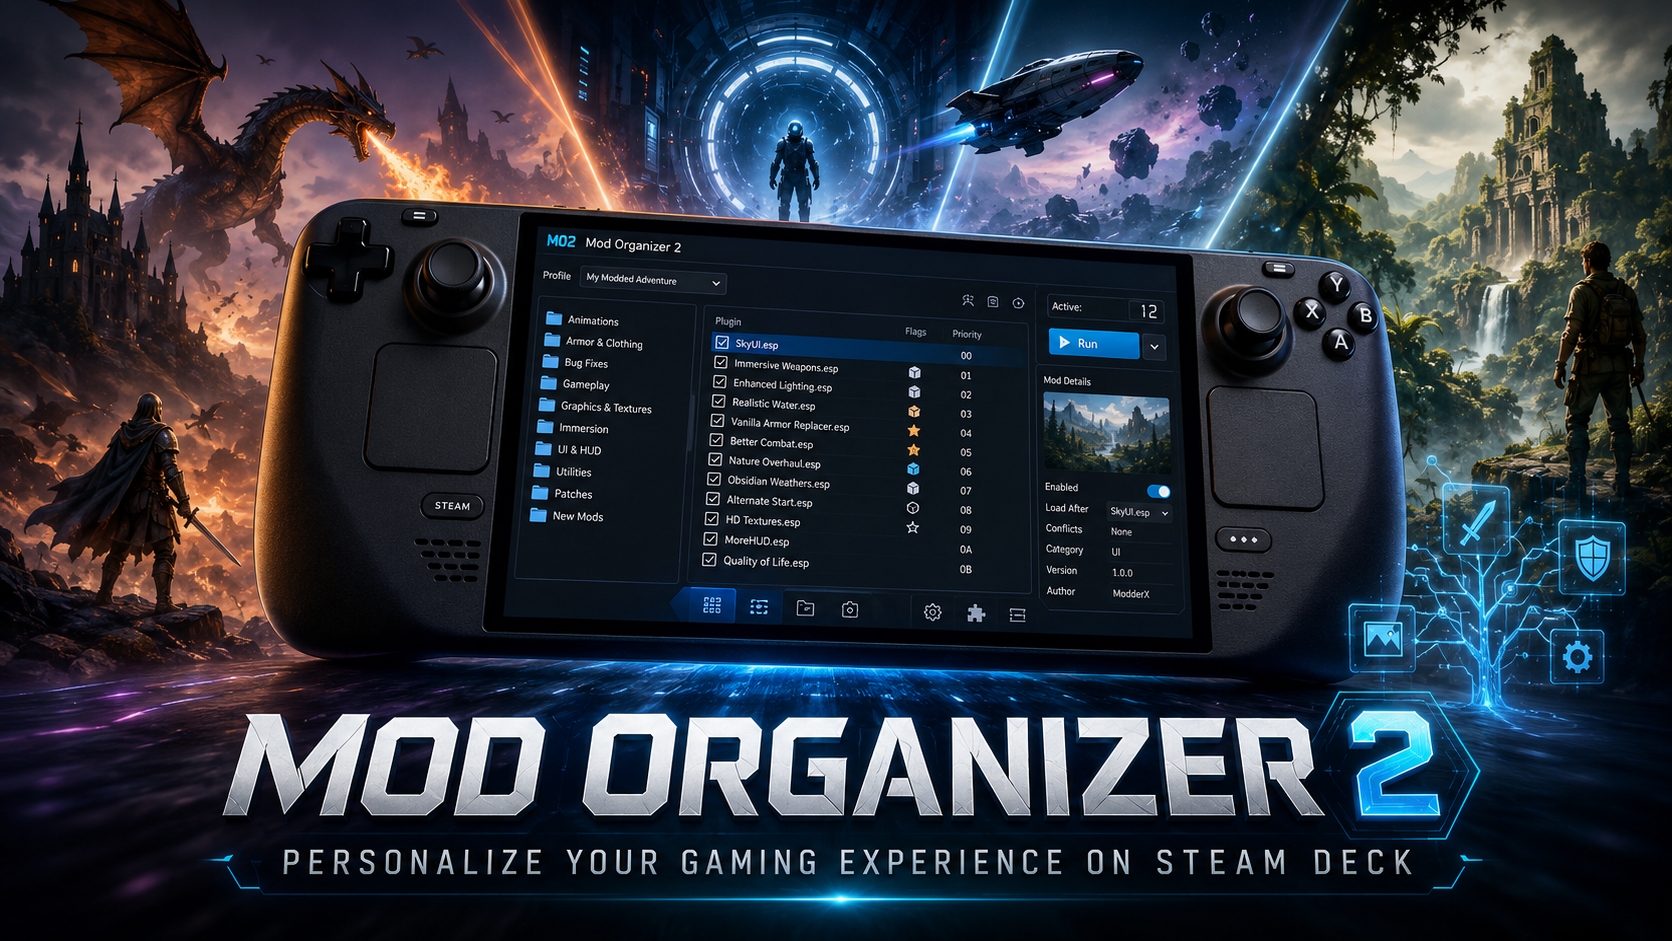 Utils
UtilsWith the advent of increasingly complex and content-rich video games, customizing the gaming experience has become a fundamental part for many players. One of the best solutions for managing game modifications and mods is Mod Organizer 2. In this article, we will explore what Mod Organizer 2 is and how it can be implemented on Steam Deck to enhance and customize the gaming experience on this portable console. What is Mod Organizer 2? Mod Organizer 2 is a tool designed to efficiently and safely manage game modifications. With Mod Organizer 2, users can install, organize, and manage game mods in a modular way, keeping the modifications separate from the base game. This allows users to enable and disable mods without affecting the original game files, ensuring a stable and personalized gaming experience. Features of Mod Organizer 2: Modular Management: Mods are installed separately from the base game, allowing users to easily manage them without compromising the integrity of the game. Profiles: Users can create separate profiles with different combinations of mods to experience unique gaming experiences. Diagnosis Tools: Mod Organizer 2 includes tools to troubleshoot issues related to modifications and manage conflicts between them, ensuring a smooth and error-free gaming experience. Implementation on Steam Deck: Mod Organizer 2 can be used on Steam Deck to enhance and customize the gaming experience on this platform. By using Proton, Steam's compatibility layer to run Windows games on Linux, users can run Mod Organizer 2 and manage game mods on Steam Deck as they would on a Windows platform. How to Install Mod Organizer 2 on Steam Deck: Download Mod Organizer 2 and Proton: Open Steam on your Steam Deck. Navigate to the library and search for "Mod Organizer 2". Select Mod Organizer 2 and click "Install". Similarly, search for "Proton" in the library and install the latest available version. Run Mod Organizer 2 via Proton: Once the installation is complete, launch Mod Organizer 2 from your Steam library. Steam will automatically use Proton to run Mod Organizer 2. Game Installation: Use Steam to install supported games on Steam Deck. Ensure that the games are installed in the correct directory. Add Games to Mod Organizer 2: Launch Mod Organizer 2 and select the option to add a new game. Select the game installed via Steam. Mod Installation and Management: Once games are added to Mod Organizer 2, you can start installing and managing mods as you would on a Windows platform. Make sure to follow specific instructions for each mod and manage any conflicts. Installing and Setup Video: References: Mod Organizer 2 on Steam - Reddit Proton on Steam Official Mod Organizer 2 Guide By following these steps, you'll be able to install and use Mod Organizer 2 on Steam Deck to effectively manage game modifications. If you encounter any issues during installation or usage, refer to the provided reference resources for additional assistance. Conclusion: Mod Organizer 2 is an essential tool for gamers looking to customize and enhance the gaming experience. With its implementation on Steam Deck, users can enjoy customized and modified games on a portable console, ensuring a unique and engaging gaming experience.
Leggi l'articolo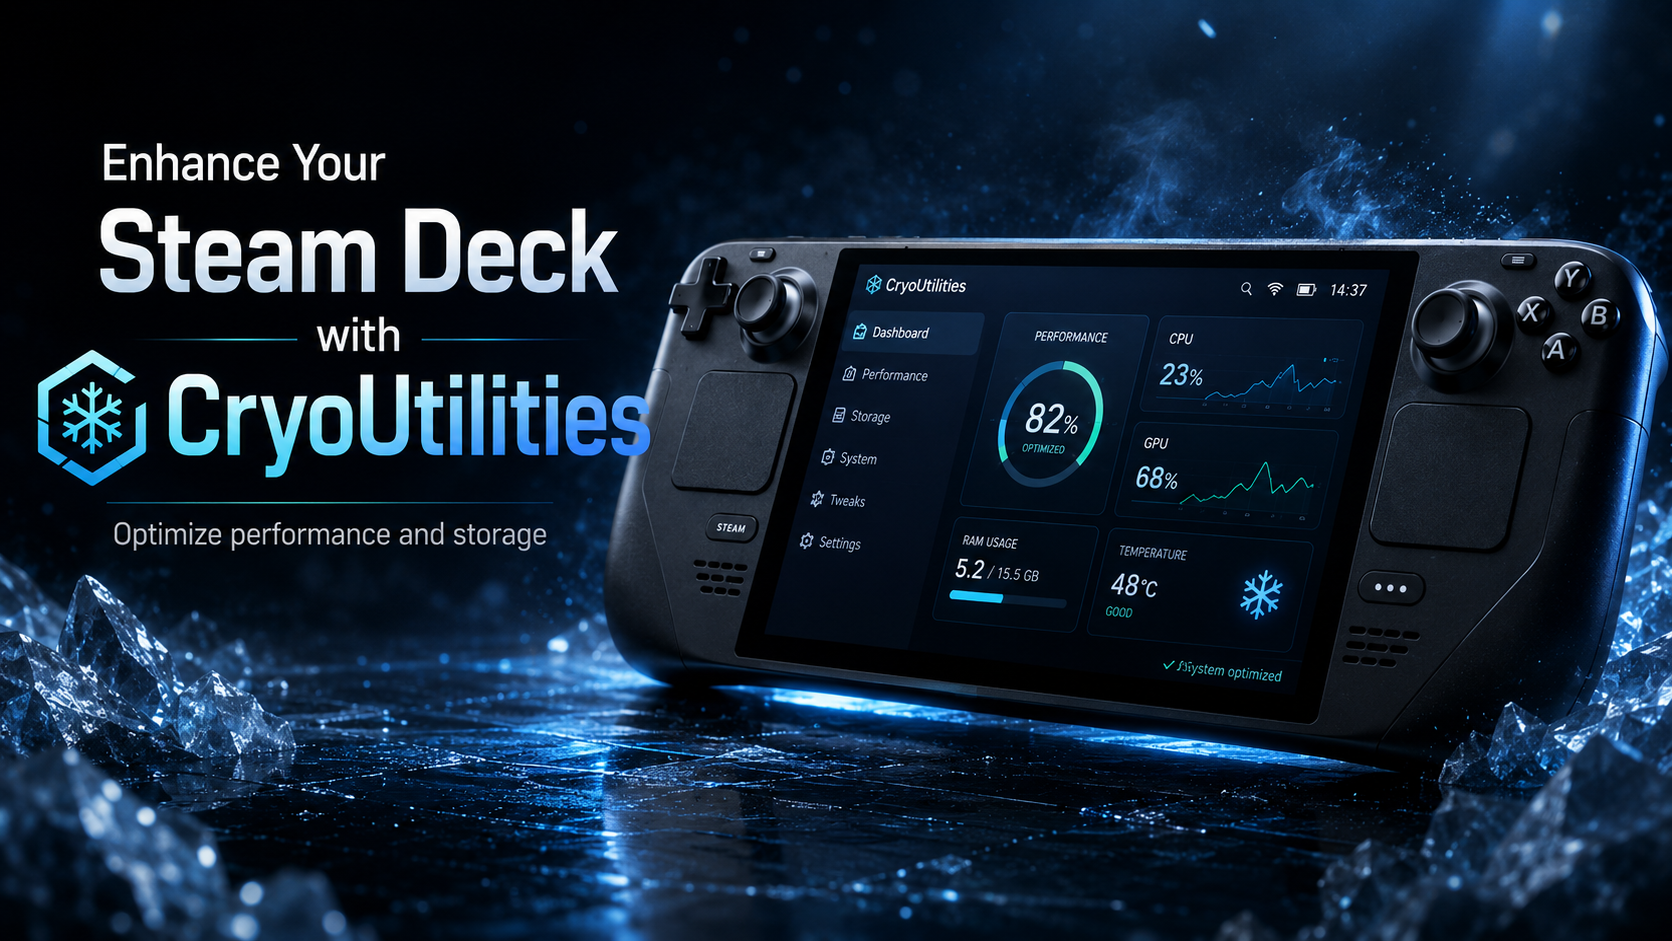 Utils
UtilsEnhance Your Steam Deck with CryoUtilities CryoUtilities offers a comprehensive suite of scripts and utilities designed to optimize performance and manage storage on your Steam Deck. While primarily tailored for the Steam Deck, it may also function with other Linux distributions, expanding its usability across a range of devices. Why CryoUtilities Matters for Your Steam Deck As a Steam Deck owner, maximizing performance and efficiently managing storage are crucial for an optimal gaming experience. CryoUtilities addresses these needs by providing a range of tools and functionalities tailored specifically for the Steam Deck environment. Installation Guide for CryoUtilities on Your Steam Deck Simple Installation: Download the installation file from the provided link to your Steam Deck. Remove the ".download" extension from the file name. Double-click the file to initiate the installation process. This will automatically install CryoUtilities, create desktop icons, and add menu entries for easy access. Manual Installation: Refer to the "manual-install.md" file for detailed manual installation instructions. Offline/Firewalled Installation: If you're in a firewalled environment, such as China, visit the designated post on the website for alternative installation directions and download links. Usage Instructions for CryoUtilities GUI Mode: After installation, launch the "CryoUtilities" application from the desktop or the application menu under "Utilities." CLI Mode: Utilize the full CLI handler by running the following command: sudo ~/.cryo_utilities/cryo_utilities <command> [parameter] Use sudo for the tweaks to function properly. Upgrade and Uninstall Procedures Upgrade: Double-click the "Update CryoUtilities" icon on the desktop to initiate the upgrade process. You'll receive a notification when the update is complete. Uninstall: Double-click the "Uninstall CryoUtilities" icon on the desktop. Confirm the uninstallation and choose whether to revert to stock settings. Reverting to stock settings restores your Steam Deck to its original state. Conclusion CryoUtilities offers an array of tools and functionalities tailored to enhance the performance and storage management of your Steam Deck. With its user-friendly installation process and versatile usage options, it's a must-have companion for Steam Deck enthusiasts looking to optimize their gaming experience. Unlock the full potential of your Steam Deck with CryoUtilities today!
Leggi l'articolo